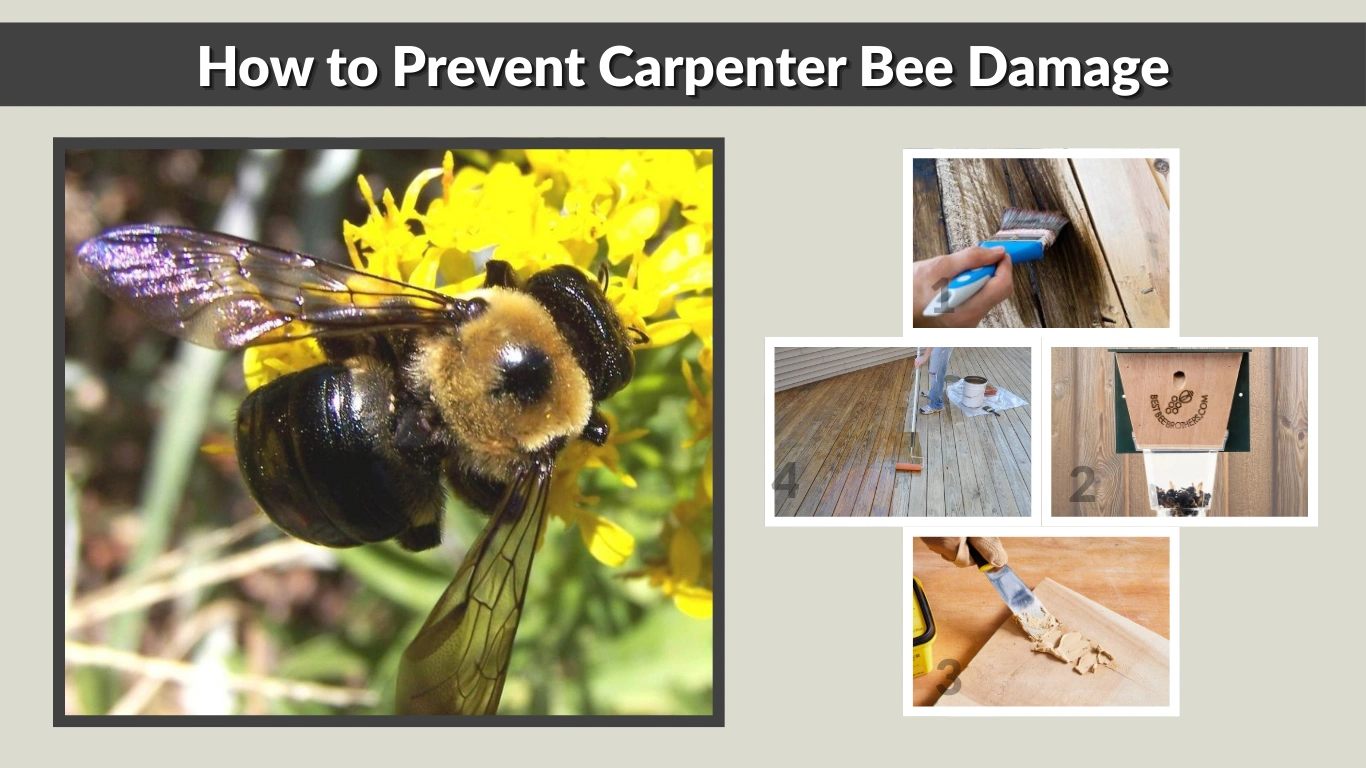
Carpenter bees may be important pollinators, but their nesting tunnels can cause serious damage to homes, decks, and wooden structures. Instead of hives, female carpenter bees drill round holes into untreated or weathered wood, creating galleries for their eggs. Over time, this activity weakens boards, attracts woodpeckers, and leads to costly repairs.
The good news is that you can stop this damage before it starts. By following a step-by-step prevention plan—inspection, sealing, protective coatings, and smart use of traps—you’ll safeguard your property while still respecting pollinators.
Tools & Materials Checklist
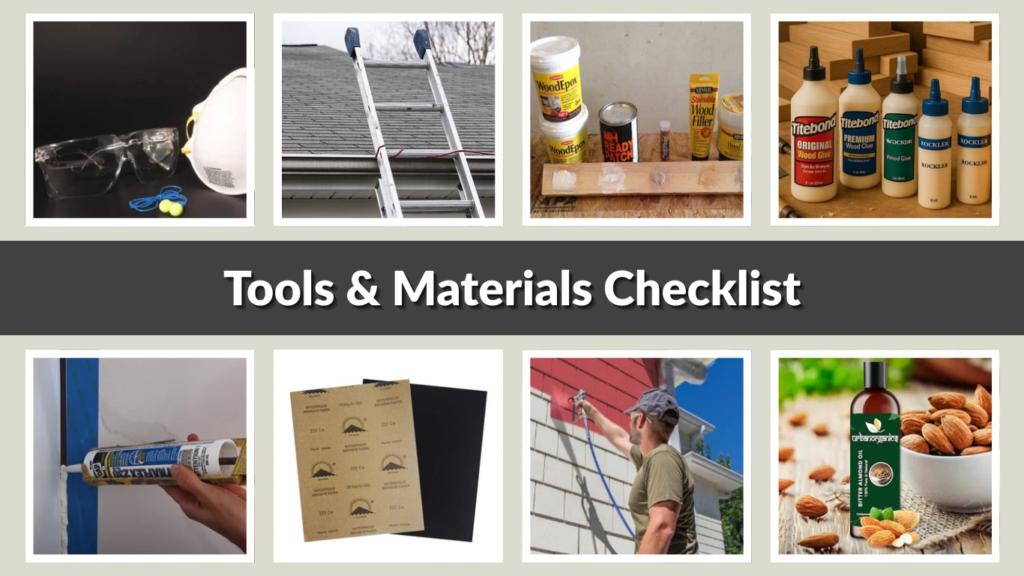
Before starting, gather the right supplies. Preventing carpenter bee damage is easiest with a well-prepared toolkit:
- Safety glasses and dusk mask
- Ladder for reaching eaves and soffits
- Exterior wood filler or epoxy
- Wooden dowels and strong wood glue
- Caulk for sealing gaps
- Sandpaper for smoothing repairs
- Primer plus exterior paint or solid stain
- Citrus or almond oil (natural repellents)
- Carpenter bee traps
- Steel wool for plugging tunnels
- Pressure-treated or composite lumber for replacements
- Insecticidal dust (as a last resort)
Having these items on hand ensures you can move quickly during prevention season.
Know the Timing

Carpenter bees are most active in spring and early summer, when females seek nesting sites. Prevention works best when timed around their life cycle.
- Early spring: Inspect and seal holes before bees start nesting.
- Summer: Monitor activity; treat and repair if new holes appear.
- Late fall: After bees have emerged, safely seal tunnels to prevent reuse.
Tip: Avoid plugging holes during peak activity in late spring, as this can trap bees inside and cause further damage.
Inspect and Confirm Activity

The first step is recognizing whether carpenter bees are active around your property. Look for these signs:
- Round holes: About ½ inch wide, with smooth edges.
- Sawdust piles (frass): Found beneath entry points.
- Buzzing males: Often hover around nests, though they cannot sting.
- Woodpecker marks: Larger holes may signal birds hunting larvae.
It’s important to distinguish carpenter bee damage from termites. Carpenter bees leave clean, round tunnels and sawdust piles, while termites create irregular galleries filled with soil or mud tubes.
Treat Active Galleries (Optional)
If you discover active nests, consider treating them before sealing. While prevention is ideal, treating prevents bees from returning to the same site.
- Apply insecticidal dust into tunnels at dusk, when activity is low.
- Wait 24–48 hours before sealing holes.
- For eco-friendly alternatives, use citrus or almond oil, which naturally repels bees.
Note: Limit pesticide use to severe infestations, as carpenter bees are pollinators.
Seal, Plug, and Repair
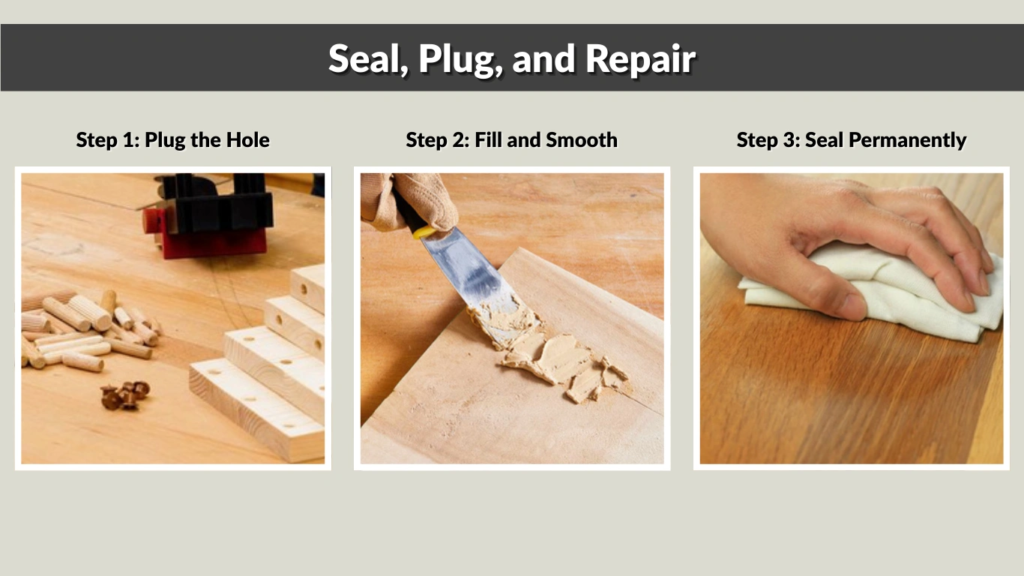
Once activity is treated—or when nests are inactive—it’s time to repair damage.
Step 1: Plug the Hole
Insert a small wooden dowel coated with wood glue into the tunnel. Alternatively, stuff steel wool inside to discourage further use.
Step 2: Fill and Smooth
Apply wood filler or epoxy over the hole. Smooth it with a putty knife and sand once dry.
Step 3: Seal Permanently
Paint or stain the repaired area to create a protective barrier. Bees rarely bore into painted or sealed wood, making this step critical.
By sealing old galleries and protecting repaired surfaces, you prevent future generations of carpenter bees from returning.
Coat and Protect Vulnerable Wood
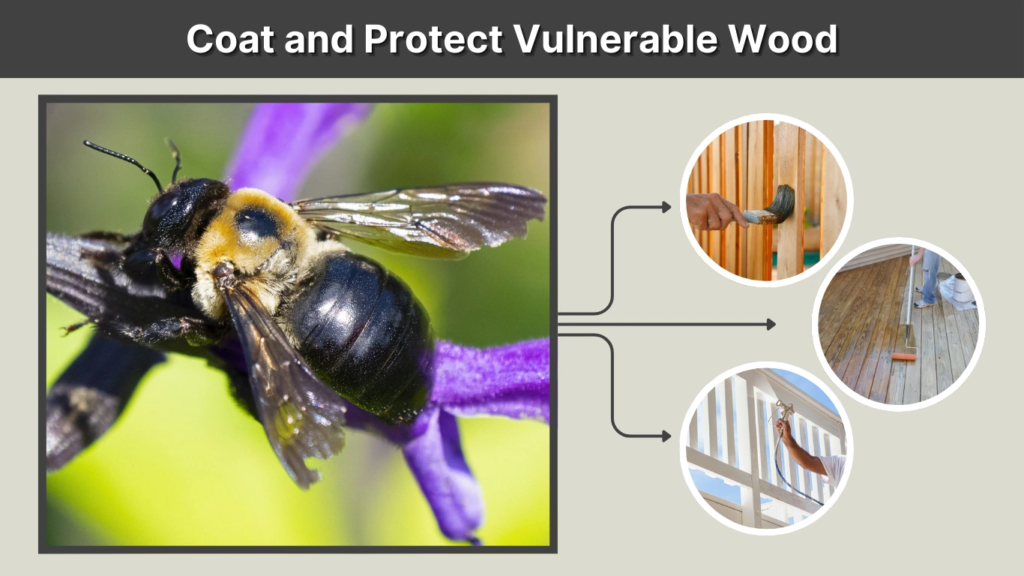
Even after sealing holes, untreated or weathered wood will continue to attract carpenter bees. Protective coatings are one of the most effective long-term defenses.
- Paint: Use high-quality exterior paint to create a slick, sealed surface. Carpenter bees rarely drill into painted wood.
- Stain or sealant: Solid stains work better than transparent ones, as they provide a thicker barrier.
- Regular maintenance: Reapply coatings every few years, especially in high-exposure areas like decks or railings.
Protecting exposed surfaces is an investment that saves money on future repairs.
Upgrade Materials and Exclusions
Sometimes prevention requires upgrading materials or excluding access altogether.
- Replace softwoods: Swap pine, cedar, or redwood with hardwoods, treated lumber, or composites.
- Wrap exposed wood: Cover fascia boards and soffits with aluminum or PVC cladding.
- Seal entry points: Use caulk or screens to close off gaps, joints, and cracks that bees might exploit.
These strategies make wooden areas less appealing, reducing the likelihood of recurring infestations.
Strategic Traps and Deterrents
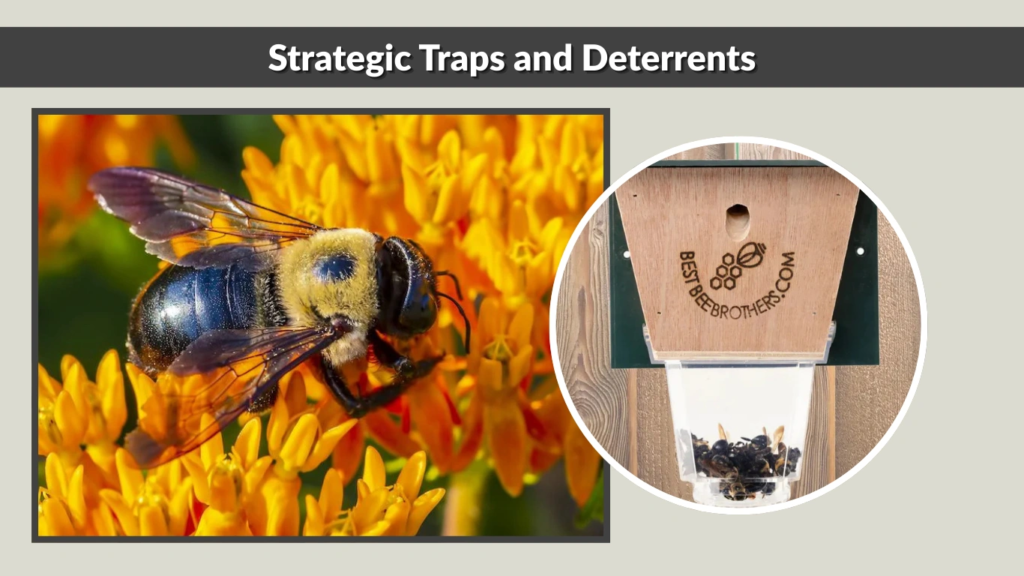
Carpenter bee traps can complement prevention when placed correctly.
How Traps Work
Traps mimic the appearance of a nesting site. Bees enter through angled holes, expecting a tunnel, but become trapped in a container they cannot escape from.
Best Practices
- Hang traps near eaves, decks, and areas with previous activity.
- Place them early in spring to catch scouts before nesting.
- Empty and maintain traps regularly to keep them effective.
Natural Deterrents
Sprays made from citrus oil or almond oil act as repellents rather than attractants. Applying these oils to high-risk areas discourages bees from boring into wood without harming them.
Landscape and Site Management
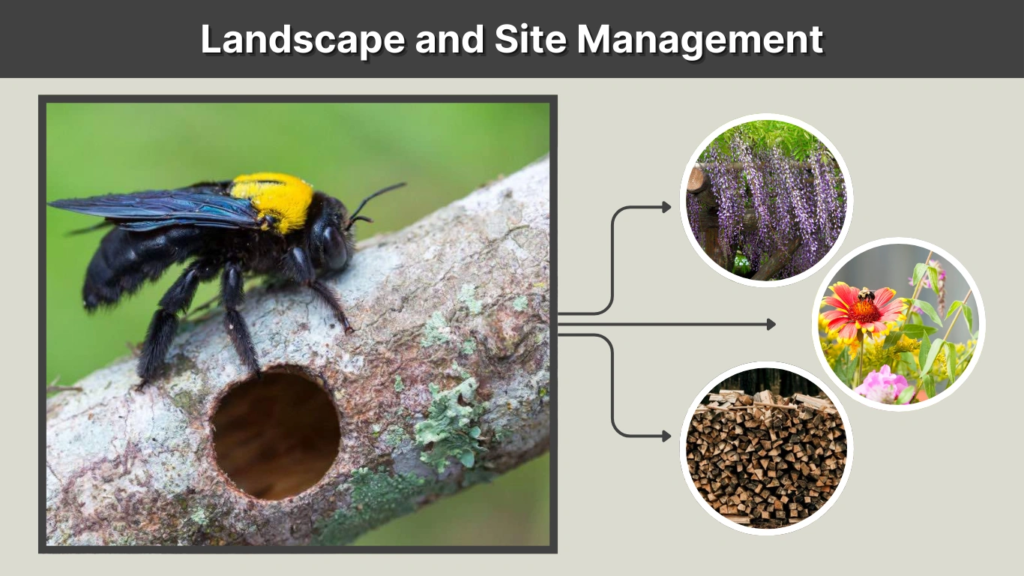
Your yard layout can influence carpenter bee activity.
- Control flowering vines: Plants like wisteria attract carpenter bees but may encourage nesting when grown against wooden structures.
- Position pollinator plants away from the house: Keep nectar-rich flowers a short distance from decks and fences.
- Store wood smartly: Keep firewood and scrap lumber away from the home, as these can serve as alternate nesting spots.
This balance allows you to support pollinators without inviting damage to your property.
Seasonal Maintenance Calendar
Preventing carpenter bee damage is most effective with year-round attention.
- Spring: Inspect structures, seal small gaps, and place traps before nesting begins.
- Summer: Monitor for new holes and touch up protective coatings.
- Fall: Perform deeper repairs, sealing old tunnels and replacing damaged boards.
- Winter: Apply paint or stain when bees are inactive to ensure strong coverage.
By following this seasonal cycle, you stay ahead of infestations instead of reacting to damage later.
Common Mistakes to Avoid
Many homeowners unintentionally make carpenter bee problems worse. Avoid these pitfalls:
- Plugging active holes immediately: Trapping bees inside can increase damage. Treat first, then seal.
- Using only stain: Transparent stains don’t deter carpenter bees effectively.
- Setting traps too late: Place them early, before nesting begins.
- Believing myths: Honey, sugar water, or Pine-Sol do not attract carpenter bees.
- Overusing pesticides: Harmful to beneficial pollinators and often unnecessary.
When to Call a Professional
Some situations require expert help:
- Severe structural damage to beams or decks.
- Infestations in hard-to-reach areas, such as high eaves.
- Persistent yearly activity despite prevention efforts.
- Allergies or safety concerns that make DIY treatments risky.
Professionals can combine repair and extermination services, ensuring both immediate relief and long-term protection.
Conclusion
Carpenter bees may be valuable pollinators, but their tunneling can take a toll on homes and wooden structures. Preventing damage requires a proactive approach: inspecting, sealing, painting, upgrading materials, and managing the surrounding landscape.
