Clover mites can quickly become an annoying problem when they start appearing on walls, windows, and indoor surfaces. Although they are harmless to humans and pets, their presence in large numbers—and the red stains they leave behind—can be frustrating to deal with.
The good news is that you don’t need harsh chemicals to control them. There are simple, natural methods that can effectively remove existing mites and prevent new ones from entering your home. In this guide, you’ll find 10 proven ways, explained step by step, to help you manage and eliminate clover mites safely and efficiently.
1. Vacuum Them Up Safely

Vacuuming is one of the easiest and cleanest ways to remove clover mites without crushing them and causing stains. This method works best when you notice mites on walls, windows, or floors. It provides immediate results and helps control their spread indoors.
Why Vacuuming Works Well
Clover mites are delicate and slow-moving, which makes them easy to remove using suction. Unlike wiping or crushing, vacuuming prevents the red pigment inside their bodies from smearing onto surfaces. This method is especially useful for indoor infestations where appearance matters, such as painted walls, curtains, and window frames.
Step-by-Step Process
- Attach a hose or brush tool to your vacuum cleaner.
- Gently move the nozzle over visible mites without pressing too hard.
- Focus on corners, windowsills, and baseboards where mites gather.
- Continue until all visible mites are removed.
Important Tips to Avoid Problems
Always vacuum carefully instead of dragging the nozzle across surfaces, as pressure can still crush mites. If possible, use a vacuum with a disposable bag. For bagless vacuums, empty the container immediately after use. This prevents mites from escaping back into your home and keeps the vacuum hygienic.
Safe Disposal and Prevention
After vacuuming, dispose of the contents outside your home right away. Seal the vacuum bag in a plastic bag before throwing it away. Regular vacuuming during peak seasons can significantly reduce infestations. Combine this method with sealing entry points and keeping windows clean to prevent mites from returning.
2. Create a Vinegar Spray

A vinegar spray is a simple and natural solution that helps kill and repel clover mites without using harsh chemicals. It is easy to prepare at home and works effectively on surfaces where mites are commonly found, such as windowsills, walls, and door frames.
Why Vinegar Is Effective
White vinegar contains acetic acid, which disrupts the mites’ outer layer and helps eliminate them on contact. It also leaves behind a smell that mites dislike, making it a useful repellent. Unlike chemical sprays, vinegar is safe for most household surfaces and does not pose risks to pets or humans when used properly.
Step-by-Step Process
- Take a clean spray bottle.
- Mix equal parts white vinegar and water.
- Shake the bottle gently to combine the solution.
- Spray directly on mites and affected areas.
Best Areas to Apply the Spray
Focus on places where clover mites gather or enter your home. Common areas include window edges, door frames, cracks in walls, and sunny surfaces. Lightly spraying these areas not only removes visible mites but also helps create a barrier that discourages new ones from entering.
Tips for Safe and Effective Use
Always test the spray on a small, hidden area before applying it widely, especially on painted or delicate surfaces. Avoid over-saturating walls or fabrics. For best results, use the spray regularly during peak seasons and wipe surfaces after application to remove dead mites and residue.
3. Use Dish Soap Solution

A dish soap solution is a gentle yet effective way to eliminate clover mites naturally. This method works by breaking down the mites’ protective outer layer, causing them to dehydrate and die. It is safe, inexpensive, and ideal for both indoor and outdoor use.
How Dish Soap Affects Clover Mites
Dish soap contains surfactants that weaken the mites’ outer coating. Once this layer is damaged, the mites cannot retain moisture and quickly dry out. Unlike harsh pesticides, this solution targets mites without introducing toxic chemicals into your living space, making it a preferred natural option.
Step-by-Step Process
- Fill a spray bottle with water.
- Add a few drops of mild dish soap.
- Shake gently to mix the solution.
- Spray directly onto mites and affected areas.
Where and When to Use It
Apply the solution to areas where mites are most active, such as windowsills, baseboards, and walls exposed to sunlight. It can also be used outdoors on patios or around entry points. For best results, apply during the day when mites are more visible and easier to target.
Tips for Best Results
Avoid using too much soap, as excessive residue can leave marks on surfaces. Lightly spray instead of soaking the area. After a few minutes, wipe the surface clean to remove dead mites. Repeat the process as needed, especially during peak infestation periods, to maintain control and prevent reinfestation.
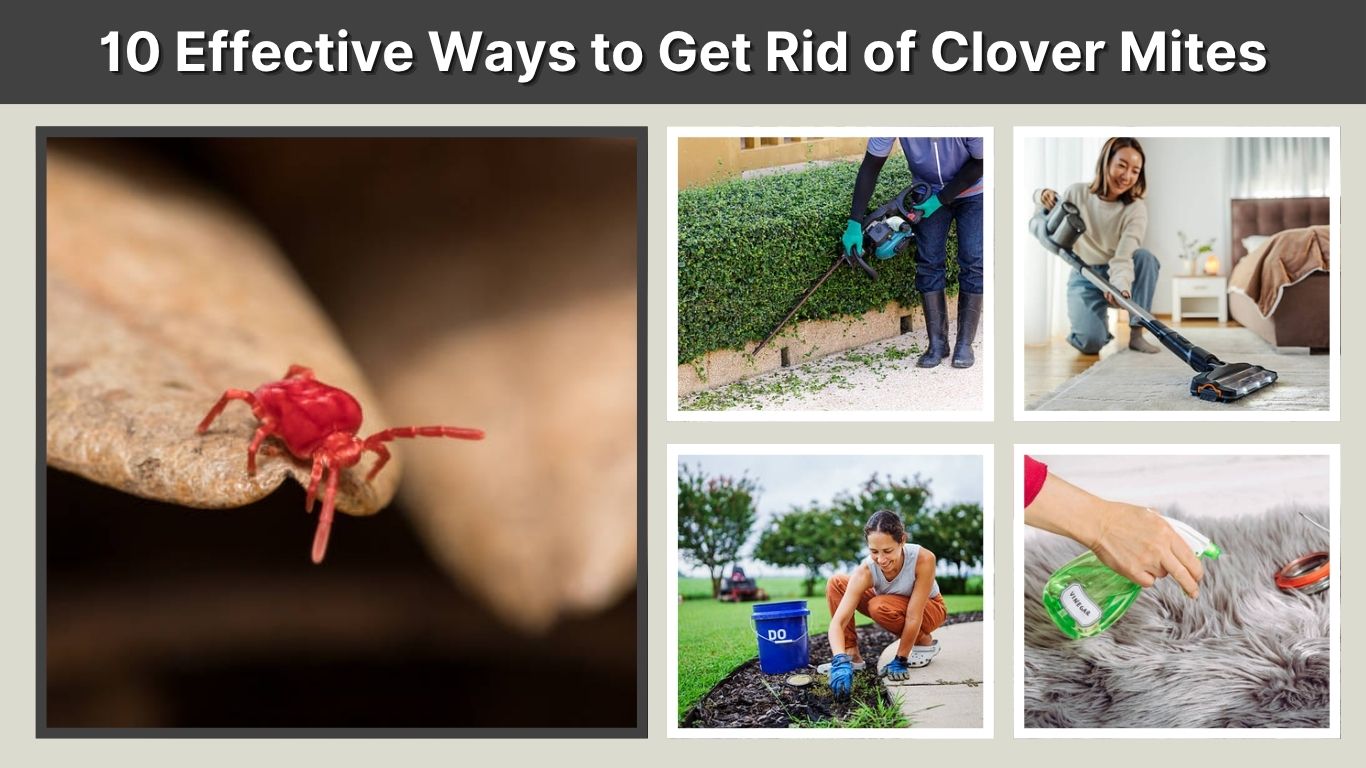
4. Seal Entry Points
Sealing entry points is a crucial preventive step that stops clover mites from entering your home in the first place. While other methods remove existing mites, this approach focuses on long-term control by blocking their access routes.
Why Sealing Is Important
Clover mites are extremely small and can crawl through tiny cracks and gaps around windows, doors, and walls. Once inside, they multiply quickly and become difficult to manage. By sealing these openings, you create a physical barrier that significantly reduces the chances of infestation.
Step-by-Step Process
- Inspect your home for cracks and gaps around windows and doors.
- Use caulk or sealant to fill small openings.
- Install or repair weather stripping where needed.
- Fix damaged window screens or vents.
Common Problem Areas to Check
Pay close attention to areas that are exposed to sunlight, as clover mites are attracted to warm surfaces. Check window frames, door thresholds, wall joints, and spaces around pipes or vents. These are common entry points that often go unnoticed but can allow mites to enter easily.
Tips for Long-Term Prevention
Make sealing a regular part of home maintenance, especially before peak seasons. Use high-quality sealants for durability and recheck previously sealed areas over time. Combining this method with outdoor control measures, such as trimming plants and reducing lawn fertilization, will provide stronger and more lasting protection.
5. Apply Diatomaceous Earth
Diatomaceous earth is a natural powder made from fossilized algae that effectively kills clover mites by dehydrating them. It is a chemical-free solution that works well for both prevention and control, especially around entry points and outdoor areas.
How Diatomaceous Earth Works
This fine powder has microscopic sharp edges that damage the outer layer of clover mites. Once their protective coating is compromised, they lose moisture and die. It works mechanically rather than chemically, which means mites cannot develop resistance to it over time.
Step-by-Step Process
- Choose food-grade diatomaceous earth.
- Lightly sprinkle it around entry points and affected areas.
- Focus on windowsills, foundations, and cracks.
- Leave it undisturbed for a few days.
Best Places to Apply It
Apply the powder in dry areas where mites are active or likely to enter. Ideal spots include the base of exterior walls, around windows, doorways, and along the foundation line. It can also be used indoors in hidden corners or along baseboards, as long as the area remains dry.
Safety and Usage Tips
Avoid inhaling the powder by wearing a mask during application. Keep it dry, as moisture reduces its effectiveness. Reapply after rain or cleaning. For best results, combine this method with sealing entry points and maintaining a clean barrier around your home to stop mites from returning.
6. Reduce Lawn Fertilization

Reducing lawn fertilization is an important long-term strategy to control clover mites naturally. These pests thrive in lush, heavily fertilized grass, so adjusting how you care for your lawn can significantly decrease their population around your home.
Why Fertilization Attracts Clover Mites
Clover mites feed on plant sap, and overly fertilized lawns produce dense, nutrient-rich growth that attracts them. High nitrogen levels, in particular, encourage rapid grass growth, creating an ideal environment for mites to live and reproduce close to your home’s foundation.
Step-by-Step Process
- Check the type of fertilizer you are using.
- Reduce the frequency of application.
- Switch to a balanced or slow-release fertilizer.
- Monitor lawn health and adjust as needed.
Signs Your Lawn May Be Over-Fertilized
If your grass grows very quickly, appears overly thick, or requires frequent mowing, it may be receiving too much fertilizer. Another sign is increased pest activity near walls and windows. Observing these signs early allows you to make adjustments before mites become a larger problem.
Tips for Better Lawn Management
Aim for moderate, steady growth instead of rapid bursts. Water your lawn properly and mow regularly to keep it healthy but not overgrown. Consider soil testing to understand nutrient needs more accurately. By maintaining a balanced lawn, you make your outdoor space less attractive to clover mites and reduce the chances of them entering your home.
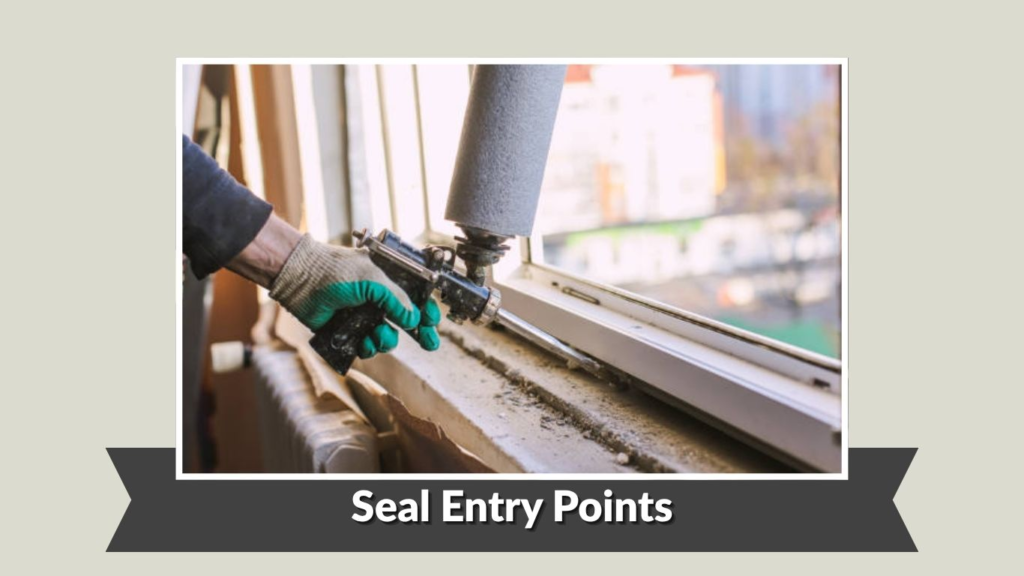
7. Trim Grass and Plants Near Walls
Keeping grass and plants trimmed away from your home is a simple but highly effective way to reduce clover mite infestations. These mites often use vegetation as a pathway to reach walls and eventually enter indoor spaces, so removing that access makes a big difference.
Why Vegetation Control Matters
Clover mites live and feed on grass, weeds, and other plants. When vegetation grows close to your home’s walls, it creates a direct bridge for mites to travel indoors. Dense plant growth also provides shade and moisture, making the environment even more attractive for them to thrive.
Step-by-Step Process
- Cut grass regularly to keep it short.
- Trim shrubs and plants touching the walls.
- Remove weeds growing near the foundation.
- Maintain a clear gap between plants and walls.
Areas to Focus On
Pay special attention to the sunny sides of your home, as clover mites are drawn to warmth. Check around windows, doors, and corners where plants tend to grow thicker. Even small patches of grass or weeds close to the wall can serve as an entry path, so consistency is key.
Tips for Ongoing Maintenance
Make trimming a routine part of your yard care, especially during spring and fall when mites are most active. Use proper gardening tools to keep edges neat and controlled. Combining this method with a barrier zone and reduced fertilization will further limit mite activity and help keep your home protected year-round.
8. Create a Barrier Zone
Creating a barrier zone around your home is a highly effective way to stop clover mites before they reach your walls. This method involves replacing vegetation near the foundation with a dry, non-living material that mites cannot easily cross.
Why a Barrier Zone Works
Clover mites depend on grass and plants to move and survive. When you remove this vegetation and replace it with materials like gravel or sand, you eliminate their pathway. The dry surface also makes it difficult for them to retain moisture, discouraging movement toward your home.
Step-by-Step Process
- Measure a 1–2 foot strip along your home’s foundation.
- Remove all grass, weeds, and plants in that area.
- Fill the space with gravel, sand, or mulch.
- Level and maintain the barrier evenly.
Best Materials to Use
Gravel and sand are the most effective because they stay dry and create an unstable surface for mites. Mulch can also work, but it should be kept dry and replaced when it starts to break down. Choose materials that suit your landscape while still providing a clear, plant-free zone.
Tips for Long-Term Effectiveness
Keep the barrier clean and free of new plant growth. Regularly check for weeds and remove them immediately. Ensure the zone remains dry by avoiding overwatering nearby areas. When combined with trimming plants and sealing entry points, this method creates a strong defense against clover mites entering your home.
9. Use Essential Oil Spray
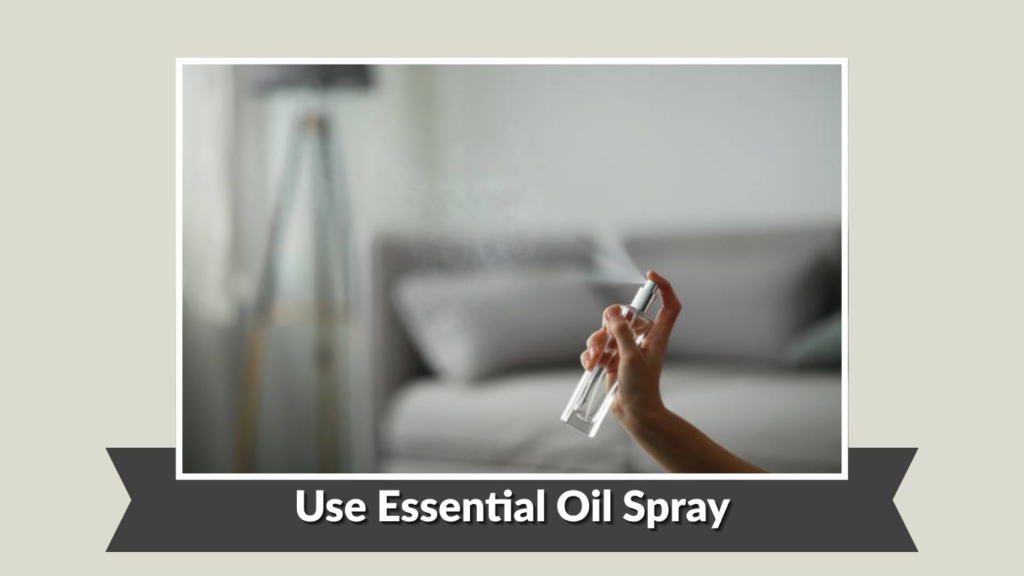
Essential oils offer a natural and pleasant-smelling way to repel clover mites from your home. Certain oils contain compounds that mites dislike, making them an effective deterrent when used regularly around entry points and affected areas.
Why Essential Oils Help Repel Mites
Oils like peppermint and clove contain strong natural properties that disrupt the mites’ behavior and discourage them from settling in treated areas. While they may not always kill mites instantly, they work well as a preventive measure and can reduce repeated infestations over time.
Step-by-Step Process
- Fill a spray bottle with water.
- Add 8–10 drops of essential oil (peppermint or clove).
- Shake well to mix the solution.
- Spray around windows, doors, and cracks.
Best Places to Apply the Spray
Focus on areas where mites are likely to enter or gather. Common spots include windowsills, door frames, wall edges, and corners exposed to sunlight. You can also lightly spray outdoor entry points to create a protective barrier before mites come inside.
Tips for Safe and Effective Use
Always shake the bottle before each use to keep the oil mixed היט water. Test on a small area first to avoid any surface reactions. Reapply every few days for consistent protection, especially during peak seasons. Using essential oils alongside other methods strengthens your overall mite control strategy.
10. Keep Indoor Areas Clean
Maintaining a clean indoor environment is a simple yet powerful way to prevent clover mites from building up inside your home. Regular cleaning removes mites, their traces, and any conditions that may attract them, helping you stay ahead of infestations.
Why Cleanliness Helps Control Mites
Clover mites often gather on dusty surfaces, windowsills, and curtains where they can hide undisturbed. By keeping these areas clean, you reduce their chances of settling and reproducing indoors. Clean spaces also make it easier to spot mites early and take quick action before they spread.
Step-by-Step Process
- Dust surfaces like windowsills, walls, and furniture regularly.
- Wipe areas with a damp cloth to remove mites.
- Vacuum floors, carpets, and corners frequently.
- Clean curtains and fabrics where mites may hide.
Key Areas to Focus On
Pay extra attention to areas near windows, doors, and sunny walls, as these are common entry and gathering spots for clover mites. Corners, baseboards, and behind furniture are also important, as mites can accumulate in less noticeable places if left unchecked.
Tips for Ongoing Prevention
Avoid crushing mites while cleaning, as they can leave red stains. Use gentle wiping or vacuuming instead. Establish a regular cleaning routine, especially during peak seasons. Combining cleanliness with sealing entry points and outdoor control methods will give you the best protection against recurring infestations.
FAQs
What time of year are clover mites most active?
Clover mites are most active during spring and fall when temperatures are mild. They tend to move indoors when outdoor conditions become too hot, cold, or dry. During these seasons, you are more likely to notice them on sunny walls and windows.
Do clover mites infest beds or furniture?
Clover mites do not live in beds or furniture like other pests. They are plant feeders and usually stay near windows, walls, and entry points. If you see them indoors, they are likely passing through rather than establishing a living area.
Can clover mites damage my home?
Clover mites do not cause structural damage to homes. However, they can leave red stains on walls, curtains, and fabrics when crushed. These stains can be difficult to remove, which is why gentle removal methods are recommended.
How quickly can clover mites spread?
Clover mites can appear in large numbers very quickly, especially if conditions are favorable. They reproduce rapidly outdoors and can migrate indoors in groups. Early action and preventive steps are important to control their spread effectively.
Is it necessary to use pesticides for clover mites?
In most cases, pesticides are not necessary. Natural methods like cleaning, sealing entry points, and managing outdoor conditions are usually enough to control them. Chemical treatments should only be considered if the infestation becomes severe and unmanageable.
